
Users on Professional or Business plans can also upload a custom certificate (wildcard, EV, etc.).
On the other hand, in case you want to use your own custom certificate and you are on the Professional or Business plan, follow these steps:
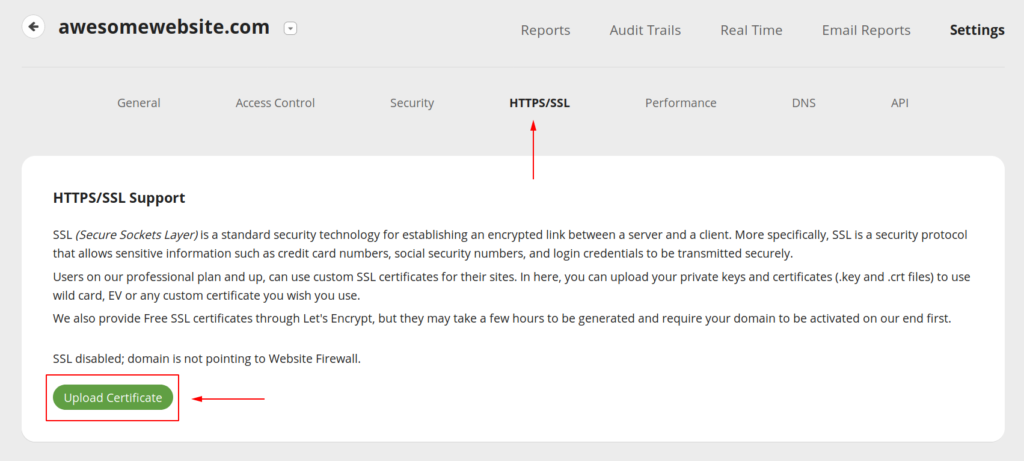
- Navigate to the WAF dashboard -> HTTPS/SSL settings.
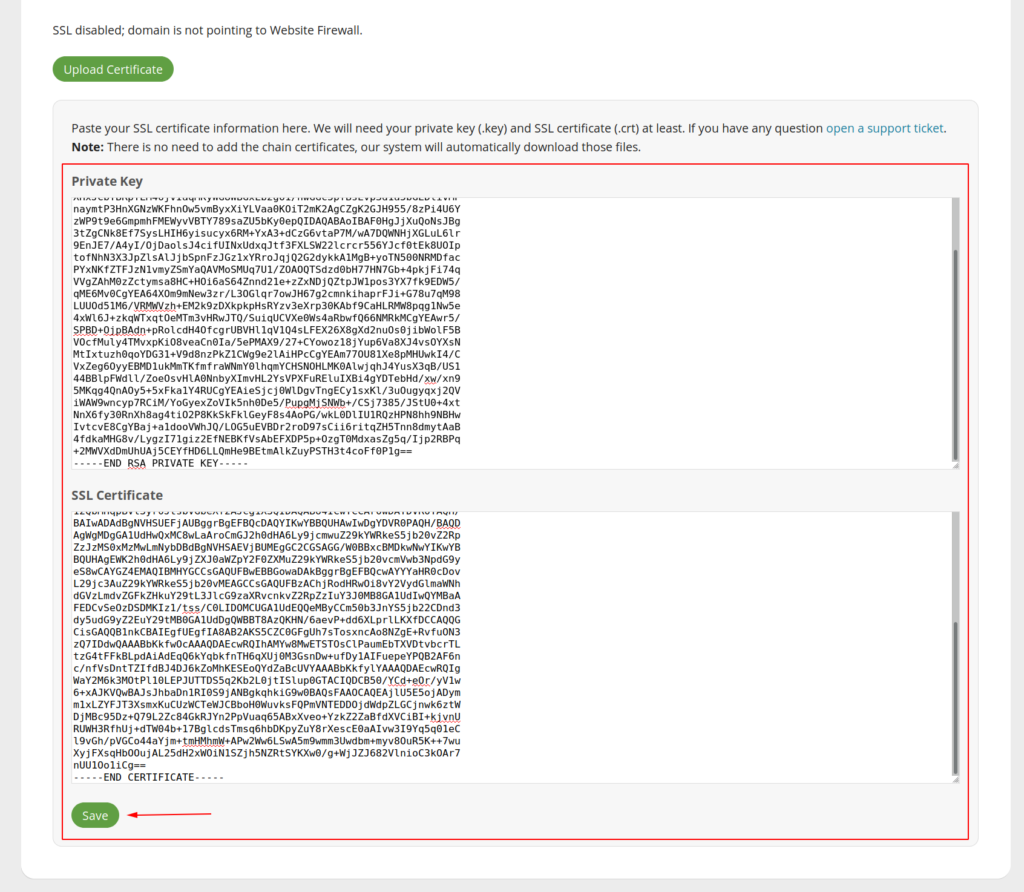
- Click on Upload Certificate to open the “Private Key” and “SSL Certificate” boxes:
- Paste your SSL certificate and private key in the corresponding boxes and click on Save.
The certificate is not instantly enabled, as it can take up to 15 minutes to be fully activated.
If you don’t know how to find the SSL Certificate and private key, please contact your hosting provider so they can provide this information.
Usually, for cPanel users, they are saved in the “SSL/TLS” item (Security box) -> Certificates (CRT) AND Private Keys (KEY) options. You can also find them using the “File Manager” item (Files box), under “ssl” folder of the left list menu.
NOTE
You don’t need to upload the certificate bundle (CA.bundle) as the WAF will append your SSL certificate authority root certs automatically. Currently only custom uploaded Let’s Encrypt SSL certificates need to have the certificate authority root certs sent together with the domain SSL certificate file to avoid “broken chain” issues.