
In order to increase your site’s protection, Sucuri offers an extra layer of protection to Sucuri Firewall users. It is what we call Protected Pages.
This option allows you to restrict access to certain pages on your site and it can also be used as a secondary authentication on your admin panels.
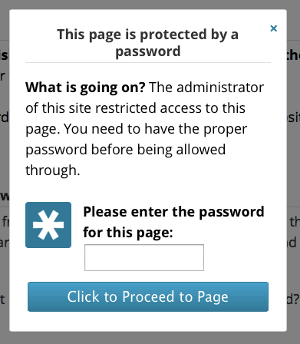
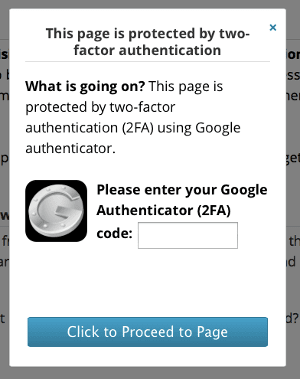
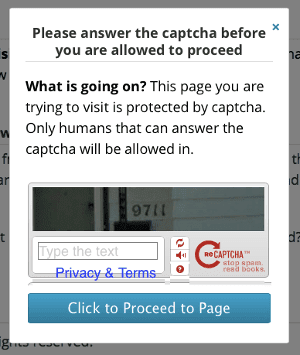
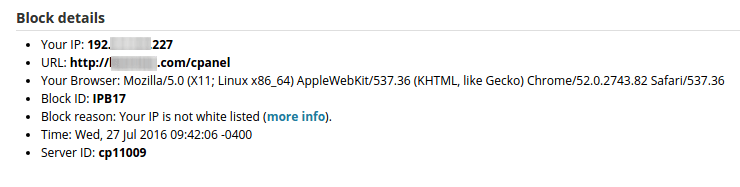
There are four authentication methods for you to choose from: Password Protection, Two Factor Authentication with Google Authenticator, Captcha Challenge and IP Address Restriction. This is what site visitors will see:
Password Protection
Two Factor Authentication with Google Authenticator
Captcha Challenge
IP Address Restriction
Enabling Protected Page
- To configure it, click here to go to the Protected Pages settings.
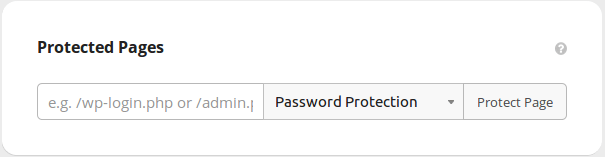
- Add the page that you want to protect, such as /wp-login.php or /admin.
- Choose the type of authentication method you want and click on Protect Page.
And that’s it. If you need help setting it up or if you have any questions, just open a ticket here.
NOTES
– Once the user successfully validates the access, the WAF will prompt the challenge again after 30 days except for the IP Restriction option.
– The validation is cookie-based, therefore if accessing from a different browser/device or if the browser cookies are cleared, the Protected Page challenge will be prompted again. You can also remove and re-add the Protected Page to force a revalidation for all users.
– The Password Protection option generates a random password, it’s not possible to customize it, but you can request a new password at any time on the dashboard.
– If you add the root directory of the website (/) on Protected Page, it may disrupt the Let’s Encrypt SSL issue and renew process.